Wednesday, January 28, 2015

pillows

I have needed new throw pillows for years and years, and just finally got around to making them.  I guess I kept thinking I'd just buy some, but never did.  I suppose it's because I knew I could make something I'd really like.  
So, the past month I've made 4 pillows, and I need one more to completely get rid of the boring pillows that came with my couch (they match my brown couches).  

I kept them pretty simple, both design and color.  I love the black and white trend right now, and almost made all of them black and white, but decided to change them up a little with grey and pink.  I used Alison's heart block pattern for the heart pillow.  I love how it turned out.  The hearts are 4.5 inches and I added a 1 inch sashing between the hearts.  
One downside of black and white is that your quilting will often show, either on the black or the white--depending on the color thread you use.  For my hear pillow I quilted the sashing.  I like how it turned out.

All the pillows are 20 inches, except the cross pillow and I think it is 18 inches.  The cover is a little baggy, so I need to fix that.  I like my pillows plump and fat, so I usually make my cover the exact size of the pillow.  My heart pillow was 20 inches before I sewed on the closure (envelope), so with seam allowance it's probably closer to 19+ inches.  I don't know the best place to buy pillow forms, I have looked at IKEA, JoAnns, Hobby Lobby and have been unhappy with them, I feel like they are too flimsy and will be pancakes after a month of my family using them (that includes jumping on them), so I buy throw pillows at Costco.  They usually come in a 2 pack and cost $12-$15 for the pair.  I think it's a decent price, but honestly I haven't shopped around much.

Wednesday, January 21, 2015

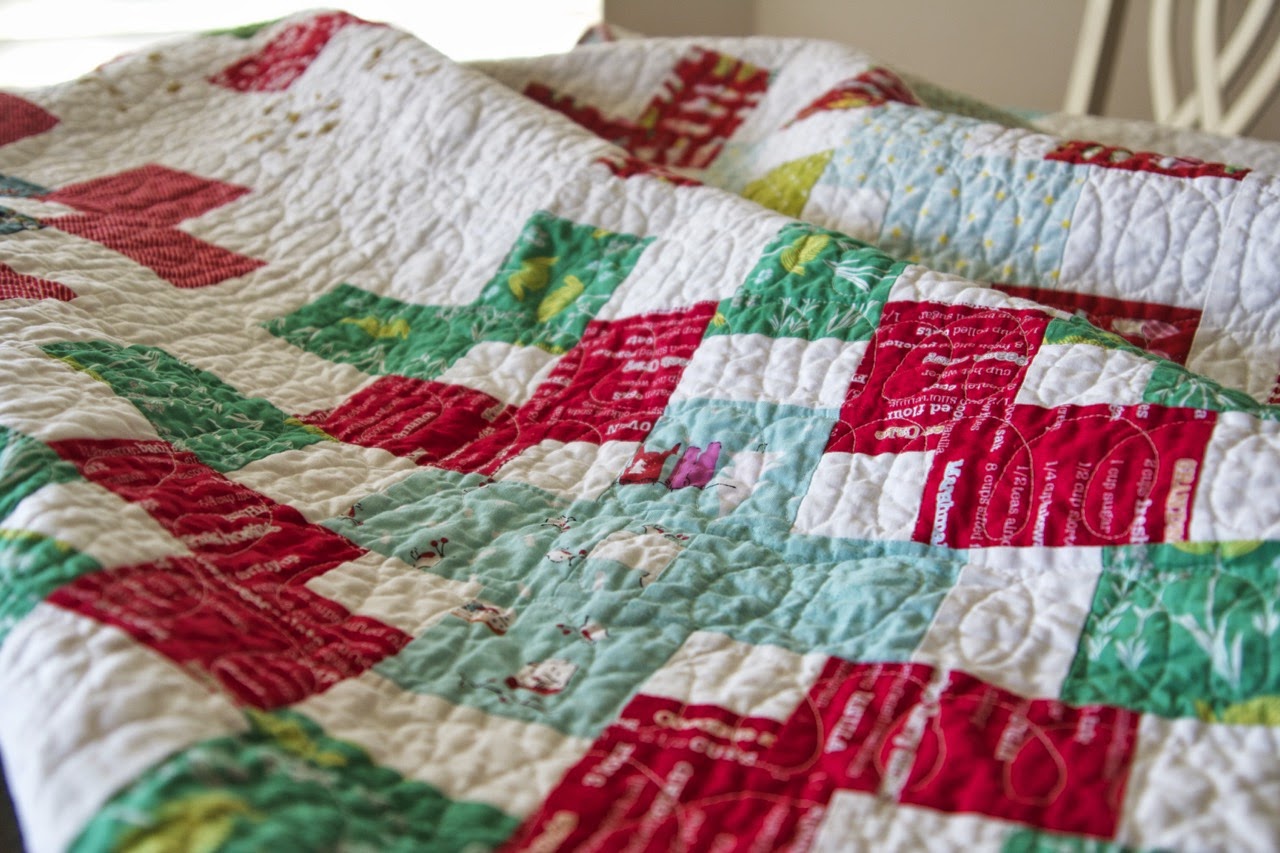
Bonne Maman Quilt

I'm just getting around to showing some of my Christmas projects.  This was a Christmas quilt I made for my brothers family for Christmas.  I grew up in a big family, so we have always rotated who we give gifts to.  I'm starting to feel a little unoriginal giving quilts.  I guess as long as I'm not disappointing anyone, I'm okay with unoriginal.  
I cannot remember where I first saw this pattern, but I loved it.   It's called Bonne Maman, which means grandma in French--(I just learned that).  It was inspired by the crocheted granny squares.  
I was going for a Christmas quilt, but I wasn't sure if it was totally clear, so I used this cute tree print to  make sure there was no confusion.

I quilted with loopy cursive e's or l's.  I do like quilting this pattern, it's pretty easy and flows so well.  Plus, you end up with a pretty soft and crinkly quilt once it's washed.

Candy cane stripe binding also makes it more Christmas-y.

Tuesday, January 13, 2015

potholder

The holidays are long gone, but I still wanted to share some of the potholders I made to give away to friends and neighbors and teachers this year.  I told myself I wasn't going to make things to give away this year--I'm not sure why I thought that was a good plan, I'd rather spend time at my sewing machine than cooking and shopping.(Most of the time anyway).  
I used a couple blocks from Lori Holts book, Quilty Fun (such a great book), and then did a plus pattern.  I can't pick a favorite.
I'm not sure how many I ended up making, but there were several times I swore this batch (I make them in batches of 4-5) would be the last, and then I needed just one more...so I'd make another batch.
 finished size is about 8.5x10.5

Wednesday, January 7, 2015

Product Review: Rotary Blade Sharpener

I have always wondered if a product exists to sharpen rotary cutter blades, but had never really looked into it or researched the options out there.   So, when I was given the opportunity to review a sharpener and share my thoughts with you all here, I was eager to try it out.  

The sharpener is made by USA Sharpeners and is designed specifically for rotary cutters that we use in almost every quilt/sewing project.  

To sharpen a blade using the Orbital Rotary Cutter Blade Sharpener, remove the cover from the sharpener, remove the blade from your cutter (can be 45mm or 60mm), place the blade on the spindle (be careful!), put a few drops of oil on the blade, replace cover with appropriate grinder (there are two--fine and coarse), then sharpen the blade by rotating the wheel.

It really is very easy, but does take a little practice to get the right touch.  Admittedly, the first time I sharpened my blade I didn't do a great job...it was fine, but not great.  There were some unsharpened spots, so my fabric wasn't cutting smoothly. 
So I tried again using a firmer pressure and it worked much better.  There is definitely a learning curve, but it wasn't difficult to get the hang of.  

So, my thoughts on the product:  
I love that I can reuse expensive blades, I don't think it's the same as a brand new factory sharpened blade, and I did feel that the resharpened blade went dull quicker than a new one, but it prolonged the use of my blade, and ultimately that will save me money.

I was pleased with the safety of the product.  The scariest part is transferring the blade from your cutter to the sharpener.  Be careful, we all know the blades are sharp...but once it's on the spindle, it's very safe.

It's simple to use.  I will save the instructions, because I know that I'll forget what I am doing and need to reference them, but it's a pretty simple task.  (you can also download instructions on their website, there is also a video).

Overall it's a great product, I recommend it.  If you have questions, leave a comment.
Related Posts Plugin for WordPress, Blogger...